Cross Stitch Basics

Before you start stitching, let's cover a few basic techniques. Learning these fundamentals will help you understand how to cross stitch and create patterns.

🧺

materials

Tools & Materials

Cross stitch uses very little equipment, and most of it is reusable from project to project. Here's what each piece does and what to look for when you're buying your first set.

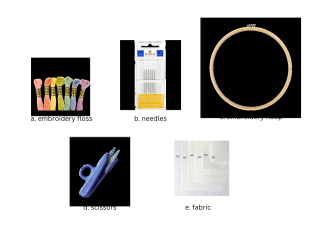
Embroidery floss, a tapestry needle, a hoop, scissors, and Aida fabric arranged together

a. embroidery floss

  • Comes in materials like cotton, silk, linen and wool, each with different weights and textures
  • Most types are made of 6 strands that can be separated as needed
  • Use two strands on 11–16 count Aida (this book uses 16 count); drop to one strand on 18 count or finer for delicate detail
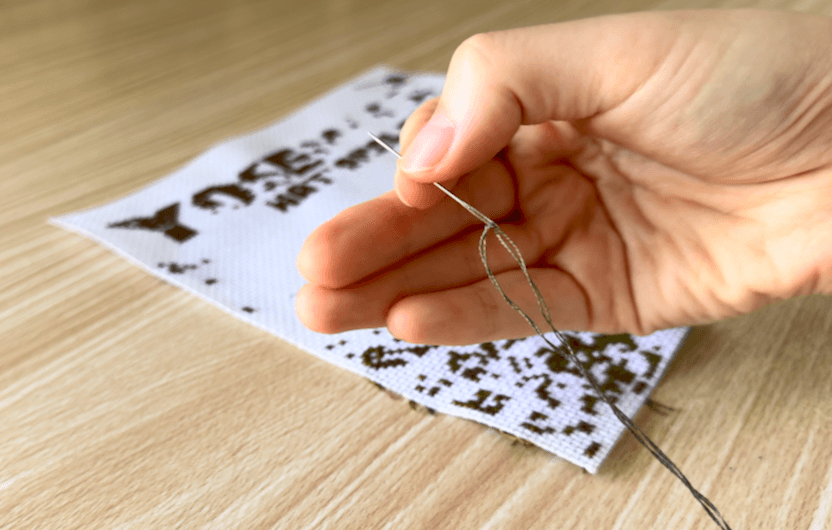
b. needles

  • Use rounded-tip needles designed for cross stitching
  • Common sizes are 24, 26 and 28—a larger number means a thinner needle with a smaller eye
  • Size 24 suits 11–14 count fabric, size 26 suits 14–16 count, and size 28 suits 18 count or finer

c. embroidery hoop

  • Comes in various sizes—choose one that fits your design
  • Common sizes are 4", 5", 6", 7", 8", 9", 10" and 12" (10–30cm)

d. scissors

  • Look for a pair with thin blades to trim threads

e. fabric

  • Cross stitching relies on counting stitches rather than transferring a design
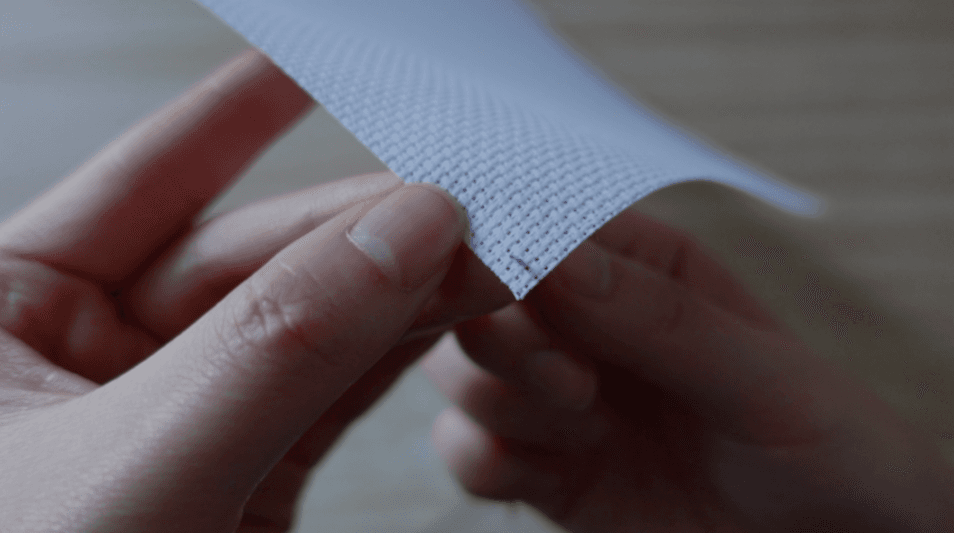
  • Best worked on fabric made for it, like Aida—a 100% cotton evenweave fabric with a grid of holes
  • Higher counts (holes per inch) mean smaller finished designs
← Swipe to see more →
🪡

preparation

Getting Started

Prepare the Thread

  1. 1

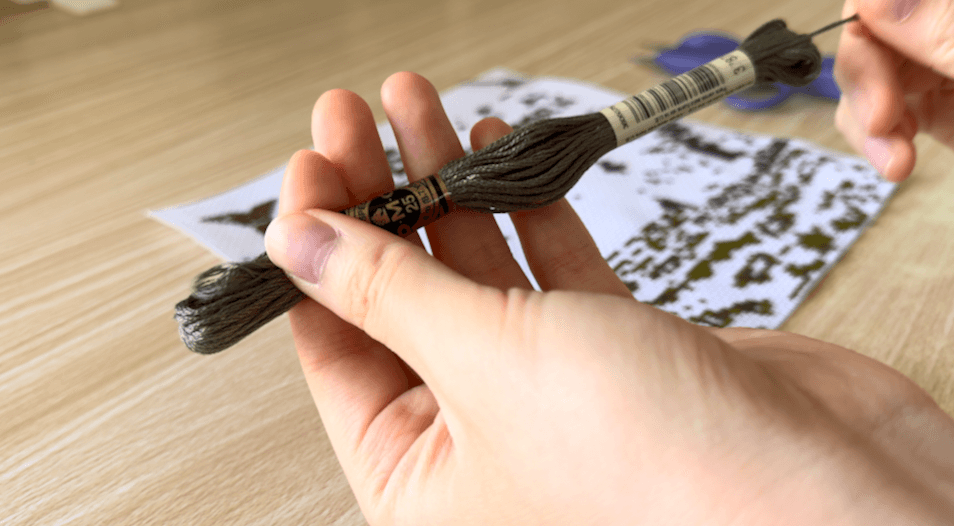
    Locate the end of the floss sticking out of the skein and, with the label still attached, slowly pull it out and cut a 50cm (20in) length.

  2. 2

    Separate the strands one at a time, then realign the number you need. Separating them first gives the thread more body and helps prevent knotting while stitching.

Preparing embroidery floss by separating strands

Thread the Needle

  1. 1

    Fold your thread a short distance from the end, then insert the needle's end between the two layers of the fold. Press the needle against the fold to create a crease.

  2. 2

    Pass the folded end through the eye of the needle.

Threading a needle with embroidery floss

Locate a Hole

  1. 1

    Look for the holes in the Aida fabric — they form a perfect grid. Each hole is where your needle will pass through.

  2. 2

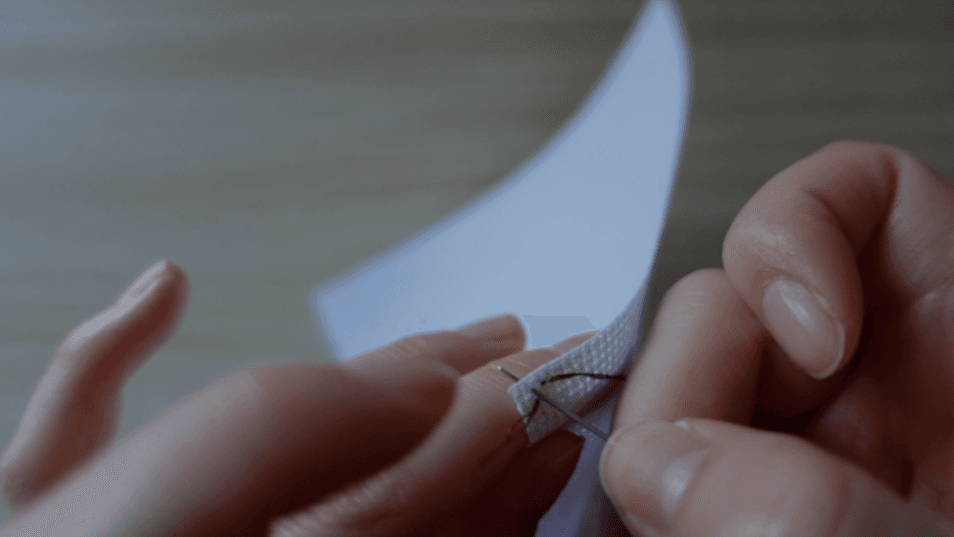
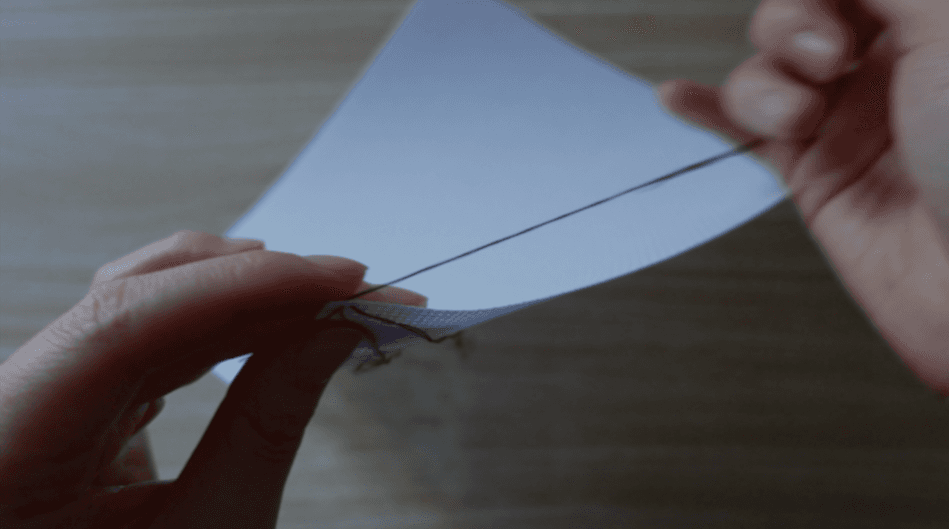
    From the back, push your needle up through a hole where you want your first stitch to begin. Pull the thread until only a small tail remains on the back.

Locating a hole in Aida fabric and bringing the needle up from the back

Make Your First Stitch — Complete the X

  1. 1

    With the needle now at the front of the fabric, pull it down through the hole diagonally opposite (hole 2) to create your first half-stitch.

  2. 2

    Bring the needle back up through hole 3 (diagonally adjacent to hole 2) and pull it through.

  3. 3

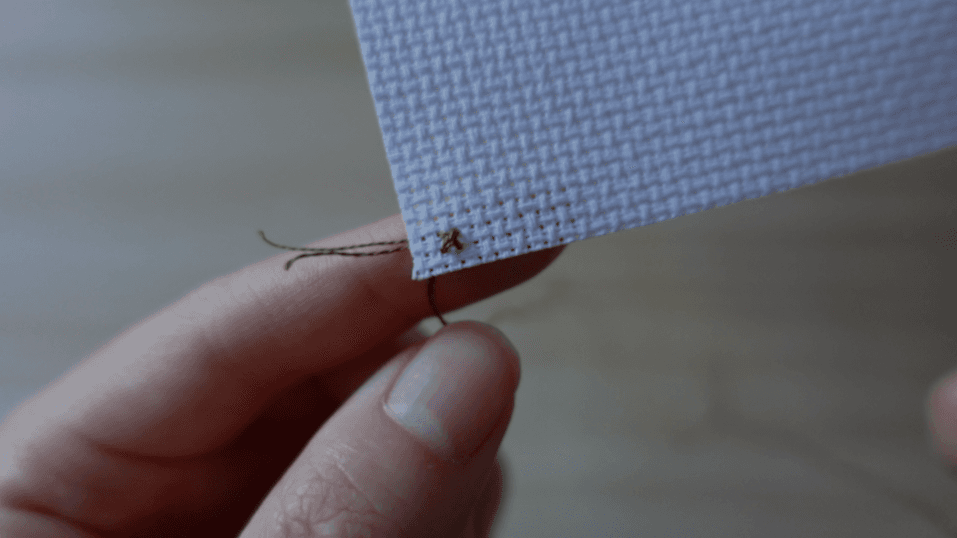
    Complete your first X by pushing the needle down through hole 4 (diagonally opposite to hole 3). You've just made your first cross stitch!

Completing the first cross stitch by working through holes 1-4

Make Your First Stitch — Tension & Finish

  1. 1

    Pull the thread gently but firmly — not too tight, not too loose. Your stitch should lay flat against the fabric.

  2. 2

    Check the back of your fabric. The thread tail should be caught under the stitch, locking it in place.

  3. 3

    You're now ready to continue stitching! Work your next stitch the same way, keeping consistent tension.

Checking tension and the back of the fabric after completing the first stitch
Continuing with the next stitch while maintaining consistent tension

Finish Your Thread

  1. 1

    When you're nearing the end of your thread (leave about 5-7cm / 2-3in), it's time to finish it off.

  2. 2

    Turn your work to the back (wrong side). Pass your needle under 4-5 completed stitches on the back, weaving it through the existing threads.

  3. 3

    Pull the thread through gently — the friction from the surrounding stitches will hold it in place.

  4. 4

    Trim the excess thread close to the fabric with your scissors. The tail is now securely anchored and invisible from the front.

Weaving the needle through finished stitches on the back of the fabric
Trimming the excess thread close to the fabric

try it

Change the number of strand to create different finish

The photos to the right show the difference between using one and two strands of floss to stitch the same design. It's also worth noting that even if the same number of strands are used, the finished appearance of the design will change if the fabric count is different.